Flutter에서 자주 사용하는 위젯들 (Container, Row, Colums, SafeArea, Etc)

최근 플러터를 개발하면서...
나는 따로 강의를 수강한 적은 없고, 노마드코더쪽 무료 강의만 들었다.
먼저 따라하면서 어떤지 맛보기에는 좋았다.
하지만 실제 프로덕트(라고 하지만 개인 서비스)를 올리려 했는데 막히는 부분이 좀 있었다.
위젯을 다른 위젯으로 래핑한다거나, 공간이 벗어났을 때 처리 등등...
더 나아가선 상태관리까지...
그래서 도서관에서 책을 빌려 공부하면서 자주 쓰는 위젯에 대해 정리를 해볼까 한다.
여기 포스팅에 소개한 위젯 말고도 더 많겠지만, 나름 자주 쓰는 것에 대해 정리를 해본다.
Container
이름과 같이 뭔가를 적재하는 위젯이다.
그래서 나 같은 경우 Scaffold위젯에서 child속성에 이 컨테이너 위젯을 넣는다.
Scaffold가 뼈대 역할을 하는데 그 시작점을 Container로 잡고 한다.
가로(Width)와 세로(Height)의 길이를 정할 수 있고, 컨테이너 위젯의 배경색 등을 넣을 수 있다.
예를들어 가로는 화면에 꽉 채우고 세로는 300에 배경은 초록색으로 하는 박스 형태 컨테이너가 필요하면 아래와 같이 작성할 수 있다.
import 'package:flutter/material.dart';
class HomeScreen extends StatelessWidget {
const HomeScreen({super.key});
Widget build(BuildContext context) {
return Scaffold(
body: SafeArea(
top: true,
child: Container(
width: double.infinity,
height: 300,
decoration: const BoxDecoration(color: Colors.green),
)));
}
}그럼 아래와 같은 형태로 결과가 나올 것이다.
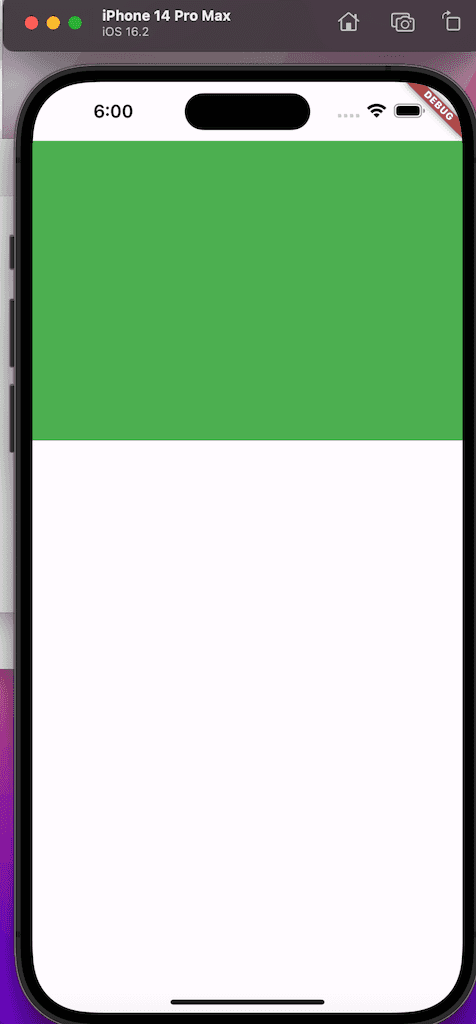
여기서 보면 컨테이너 위에 SafeArea라는 위젯이 래핑되어 있는데, 이는 뒤에서 소개하겠다.
그리고 컨테이너는 하나의 자식(child)를 가지는데 보통 단독으로 사용하는 위젯,
또는 Row, Colums와 같이 여러 자식을 소우하는 위젯을 둘 수 있다.
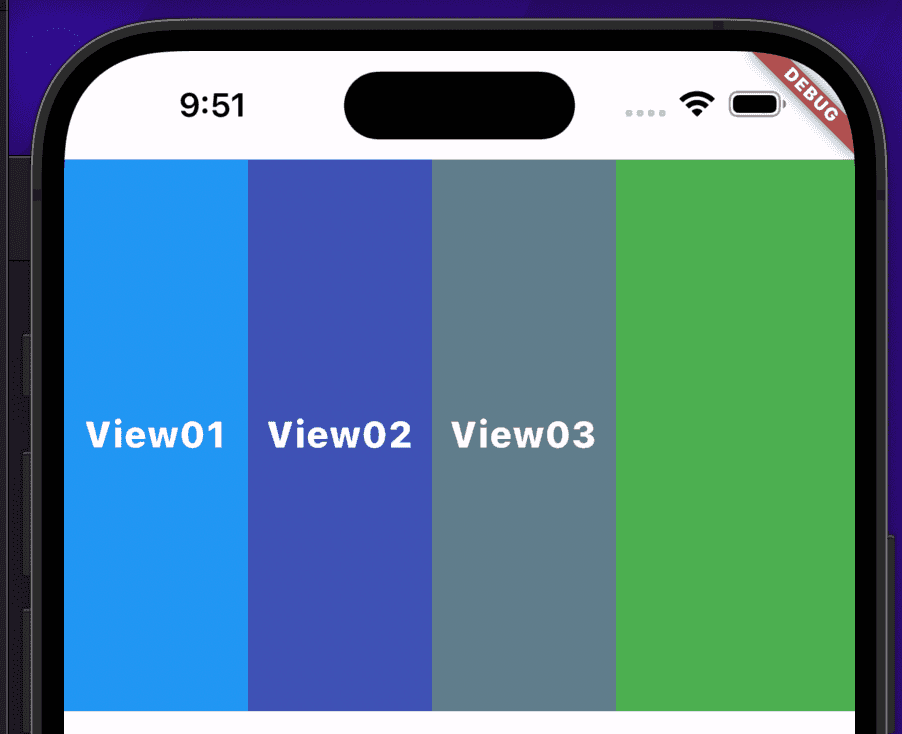
아래는 샘플이다.
Widget build(BuildContext context) {
return Scaffold(
body: SafeArea(
top: true,
child: Container(
width: double.infinity,
height: 300,
decoration: const BoxDecoration(color: Colors.green),
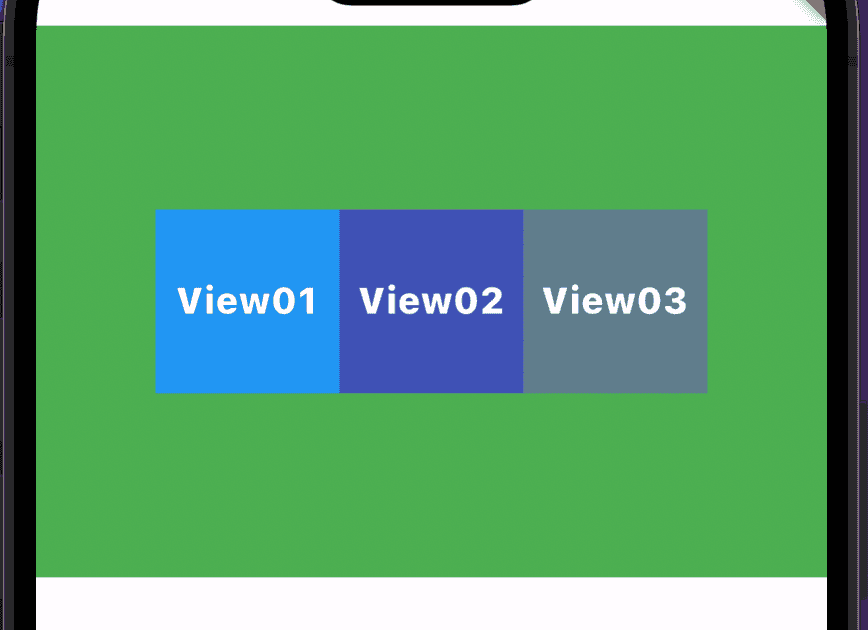
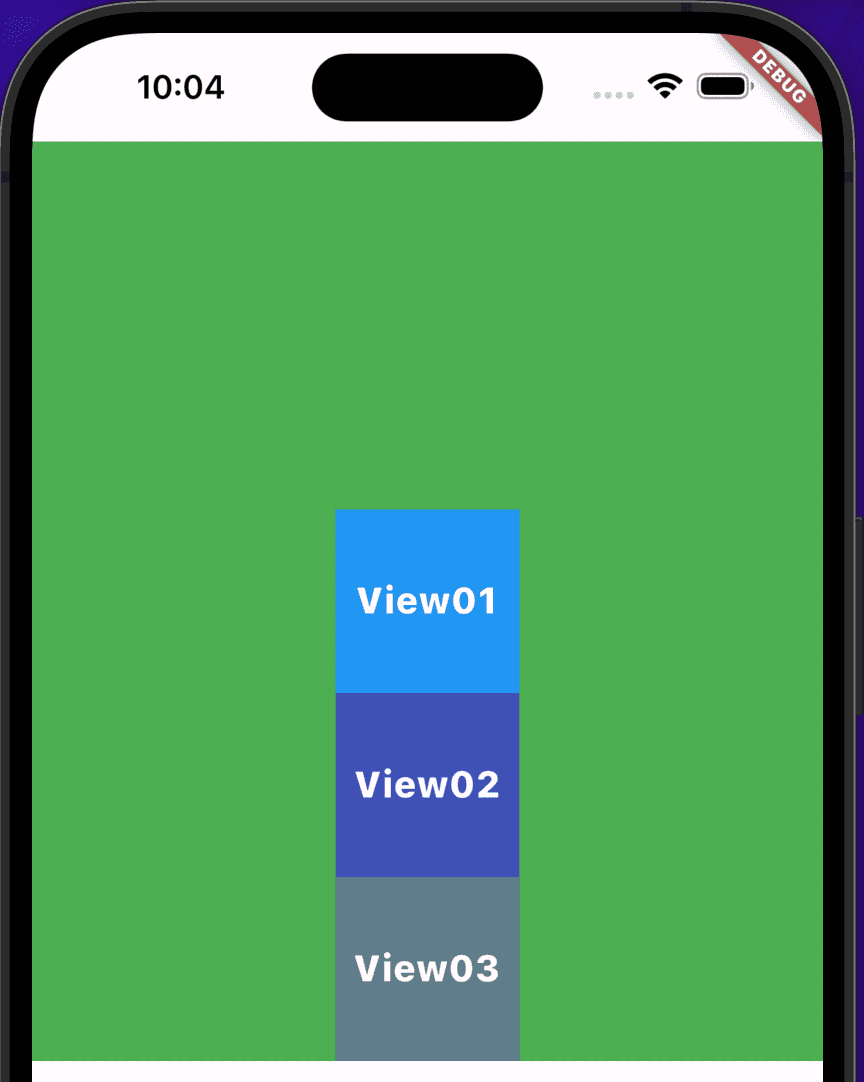
child: const Row(
mainAxisAlignment: MainAxisAlignment.spaceAround,
children: [
Text(
"View01",
style: TextStyle(
color: Colors.white,
fontSize: 20,
fontWeight: FontWeight.w800),
),
Text(
"View02",
style: TextStyle(
color: Colors.white,
fontSize: 20,
fontWeight: FontWeight.w800),
),
Text(
"View03",
style: TextStyle(
color: Colors.white,
fontSize: 20,
fontWeight: FontWeight.w800),
),
],
),
),
),
);
}
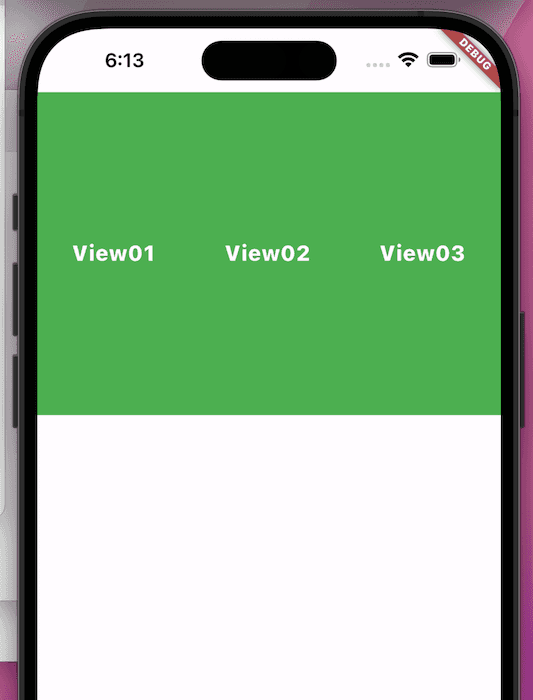
코드 샘플이 빈약하지만 이 정도면 컨테이너 위젯의 기본에 대해서는 알 수 있을 것이다.
Row
Row위젯은 위에서 본 바와 같이 가로로 위젯을 배치하는데 사용한다.
그리고 다수의 위젯을 배열 형태로 받는다.
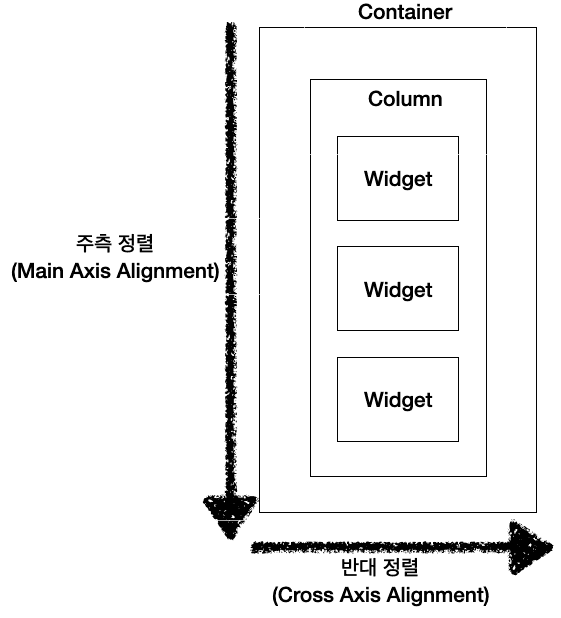
위의 샘플 예제에서 보면 mainAxisAlignment라는 속성이 있다.
이건 주축 정렬에 대한 속성을 제공한다.
이것과 반대로 되는 것은 crossAxisAlignment라는 속성이 있다.
말로 하니까 좀 복잡한데 다음과 같이 쉽게 정의할 수 있다.
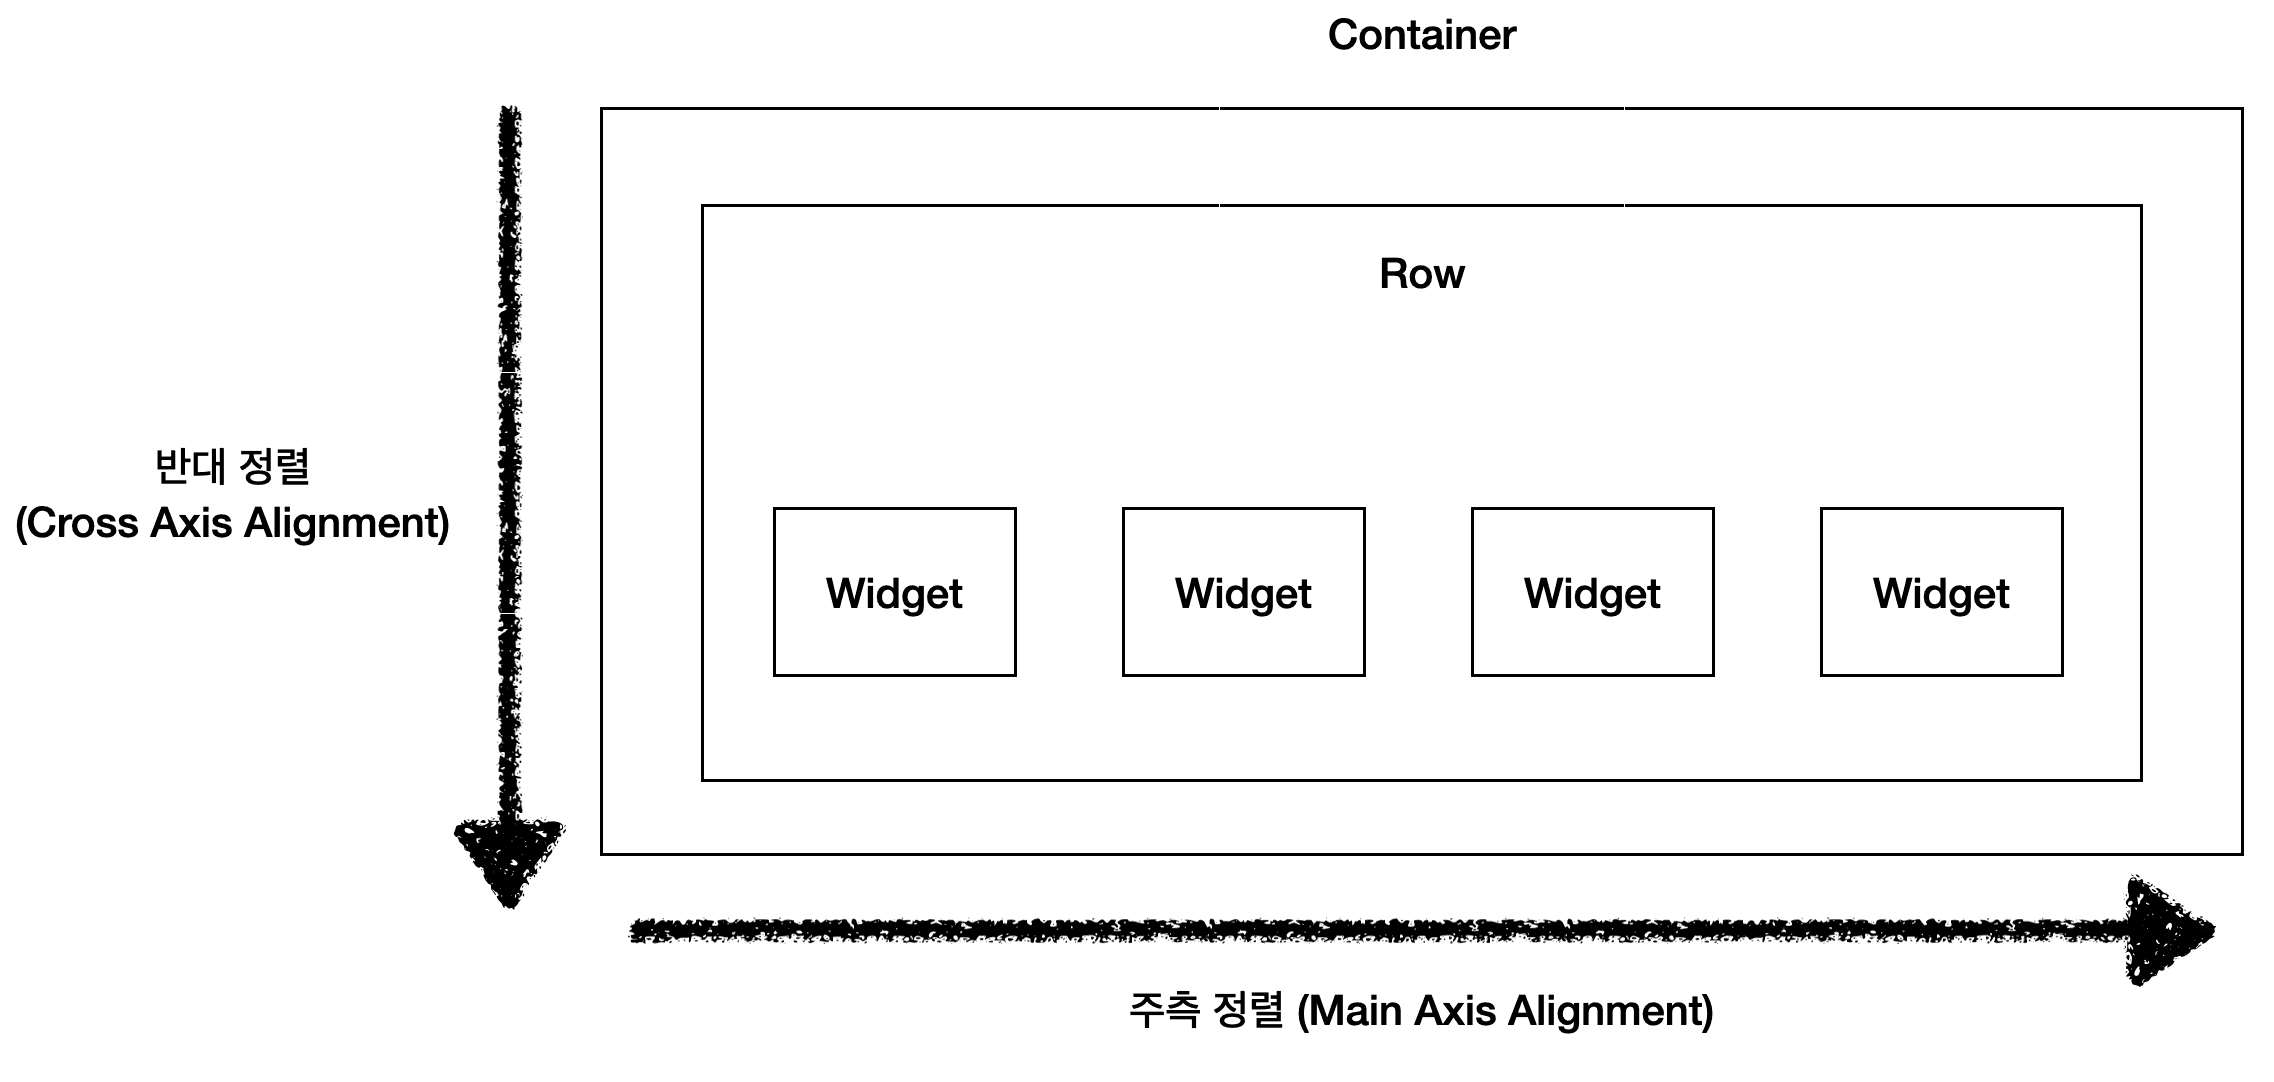
MainAxisAlignment
주측 정렬(MainAxisAlignment)에 대한 속성은 다음과 같다.
- start
- 시작에 정렬한다
- center
- 중앙에 정렬한다.
- end
- 끝에 정렬
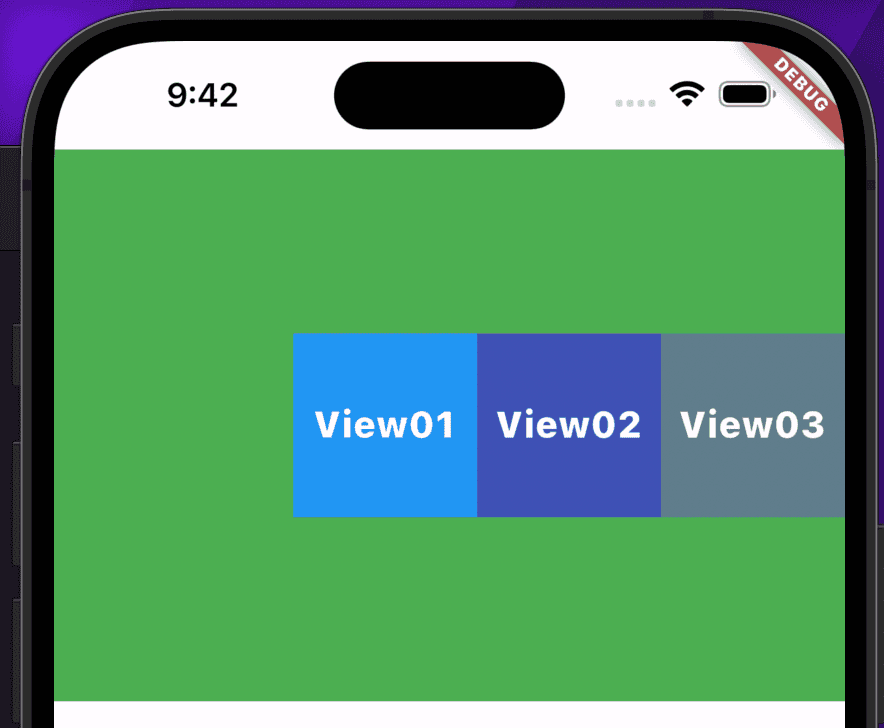
- SpaceBetween
- 각 자식 위젯간의 간격을 균등하게 정렬한다.
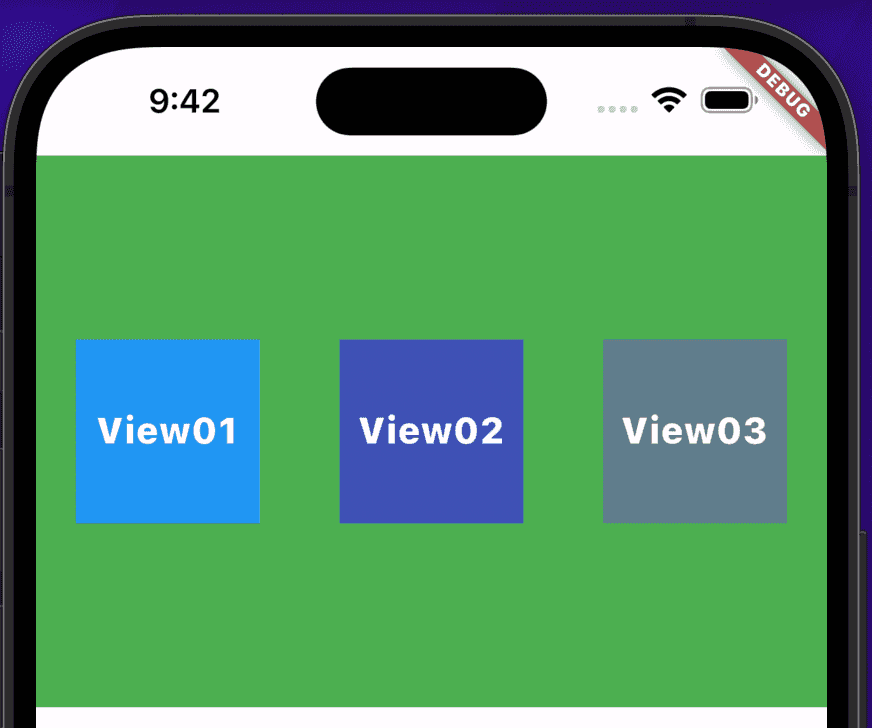
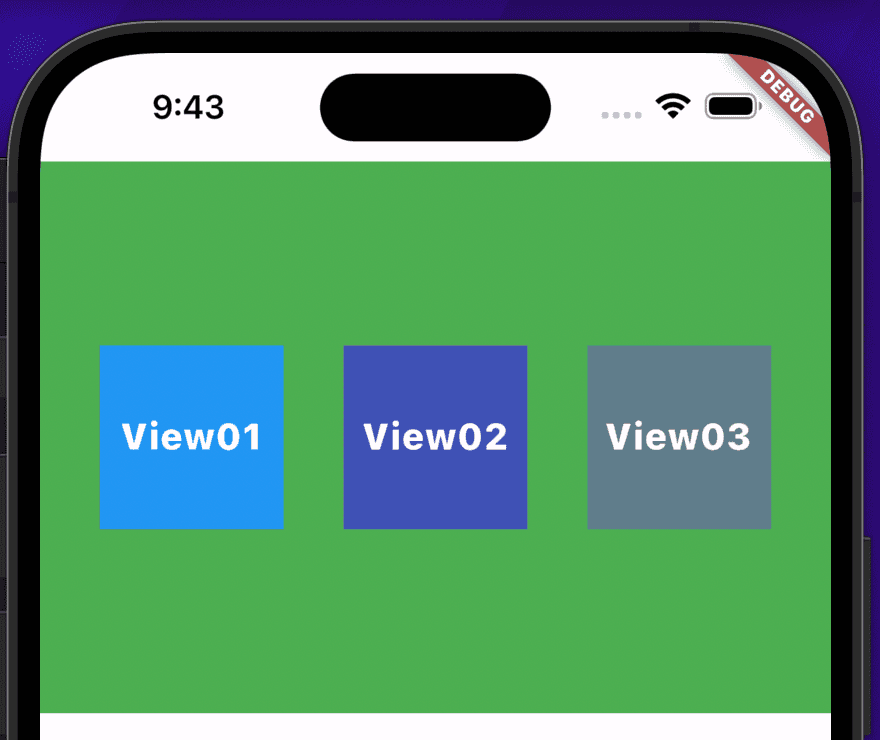
- spaceAround
- 각 자식 위젯간의 간격을 균등하게 정렬하고, 맨처음과 맨끝 간격을 자식 위젯 사이의 반만큼 배정해 정렬한다.
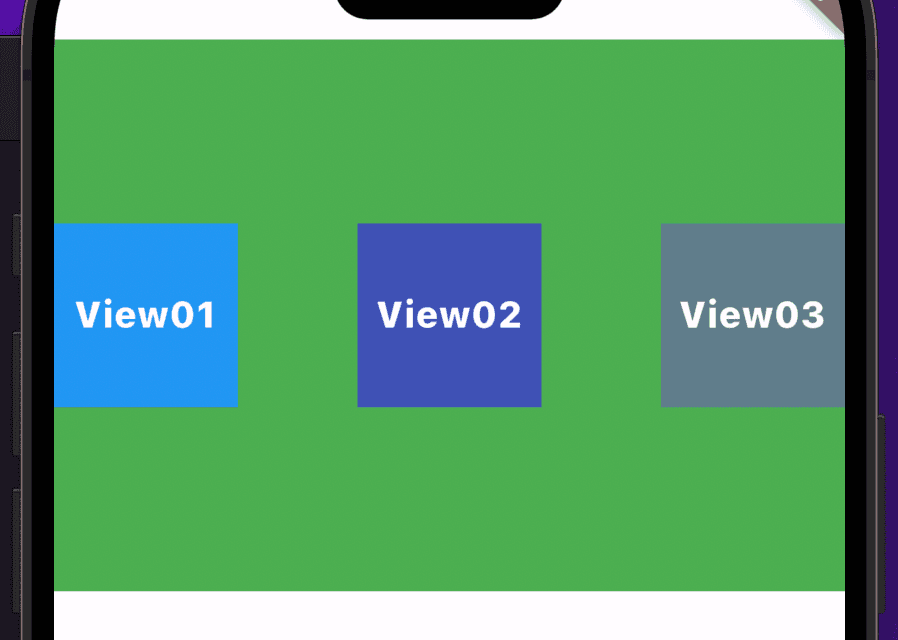
- spaceEvenly
- 각 자식 위젯간의 간격을 균등하게 정렬하고, 맨처음과 맨끝 간격도 균등하게 정렬한다.
| start | center | end |
|---|---|---|
|
|
|
| SpaceBetween | spaceAround | spaceEvenly |
|---|---|---|
|
|
|
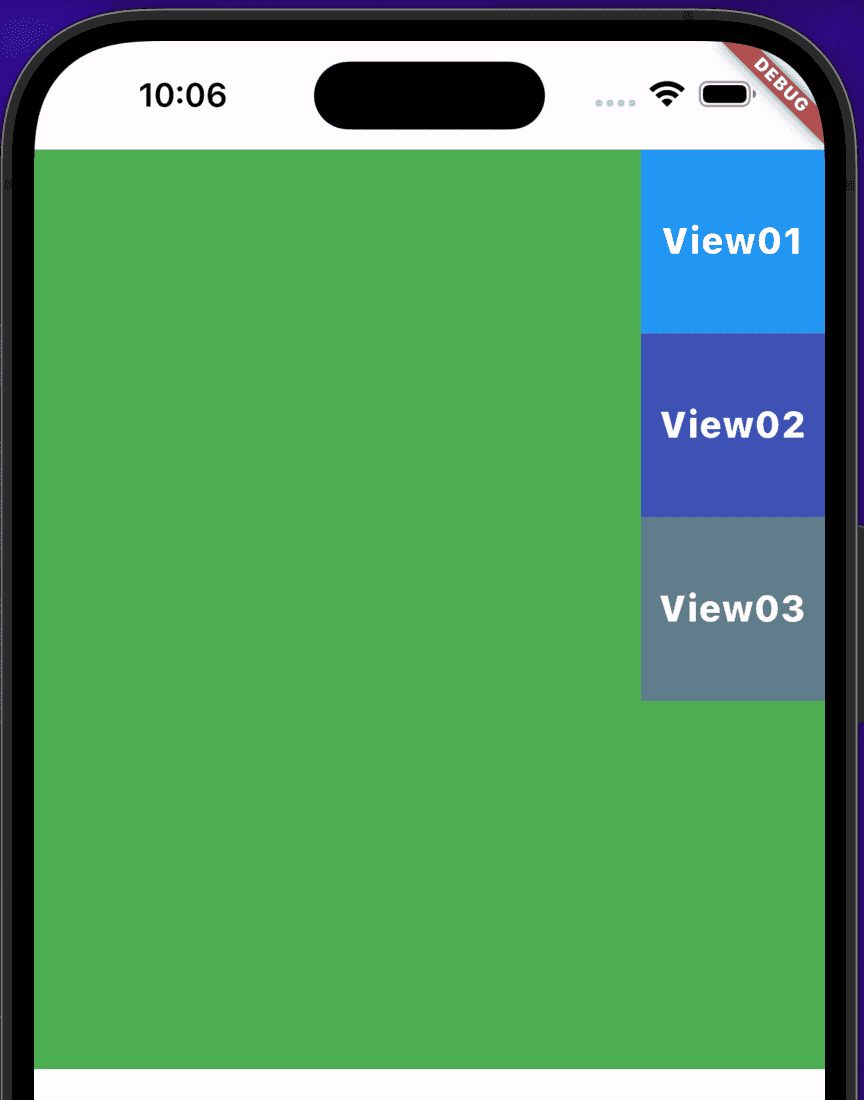
CrossAxisAlignment
이번엔 반대측 정렬(CrossAxisAlignment)에 대한 속성은 다음과 같다.
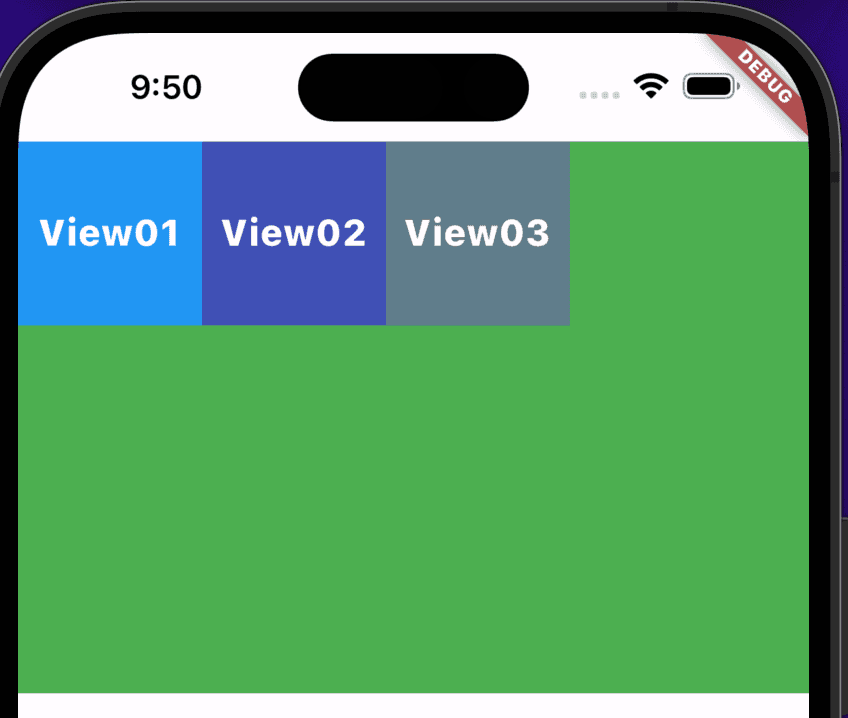
- start
- 시작에 정렬
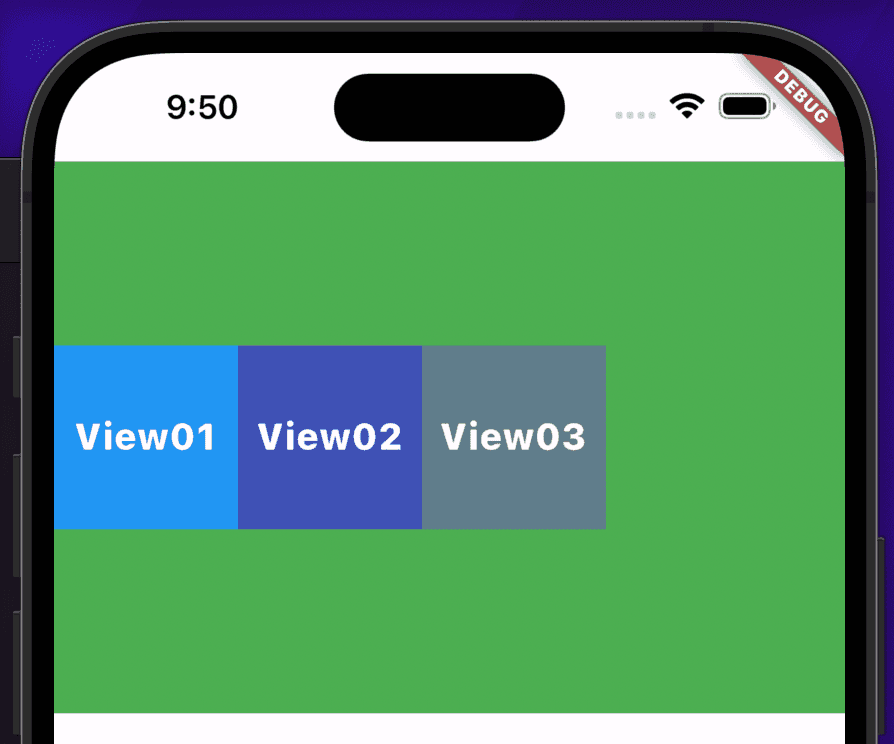
- center
- 중앙에 정렬
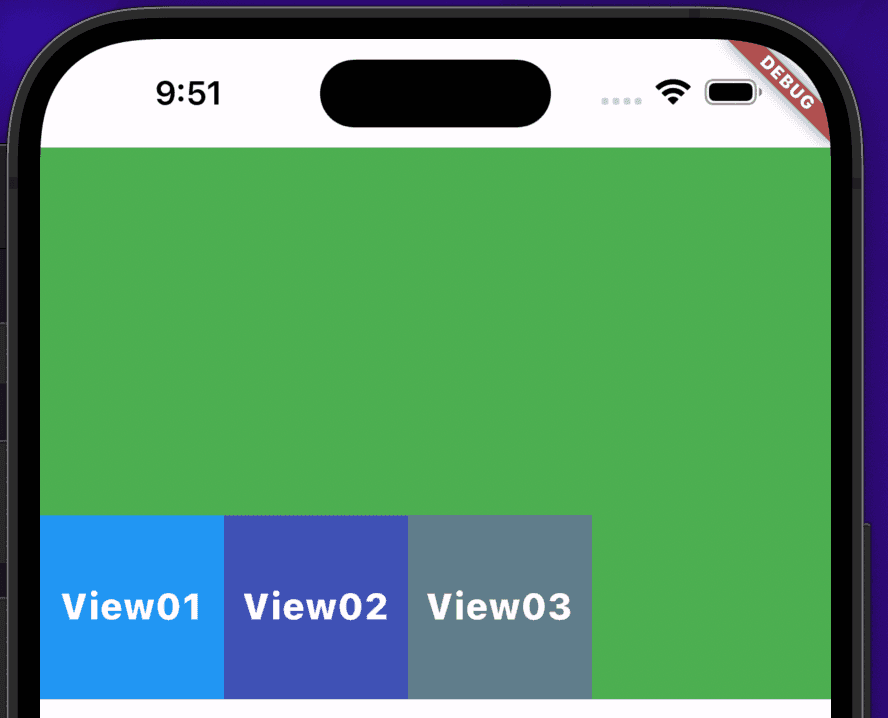
- end
- 끝에 정렬
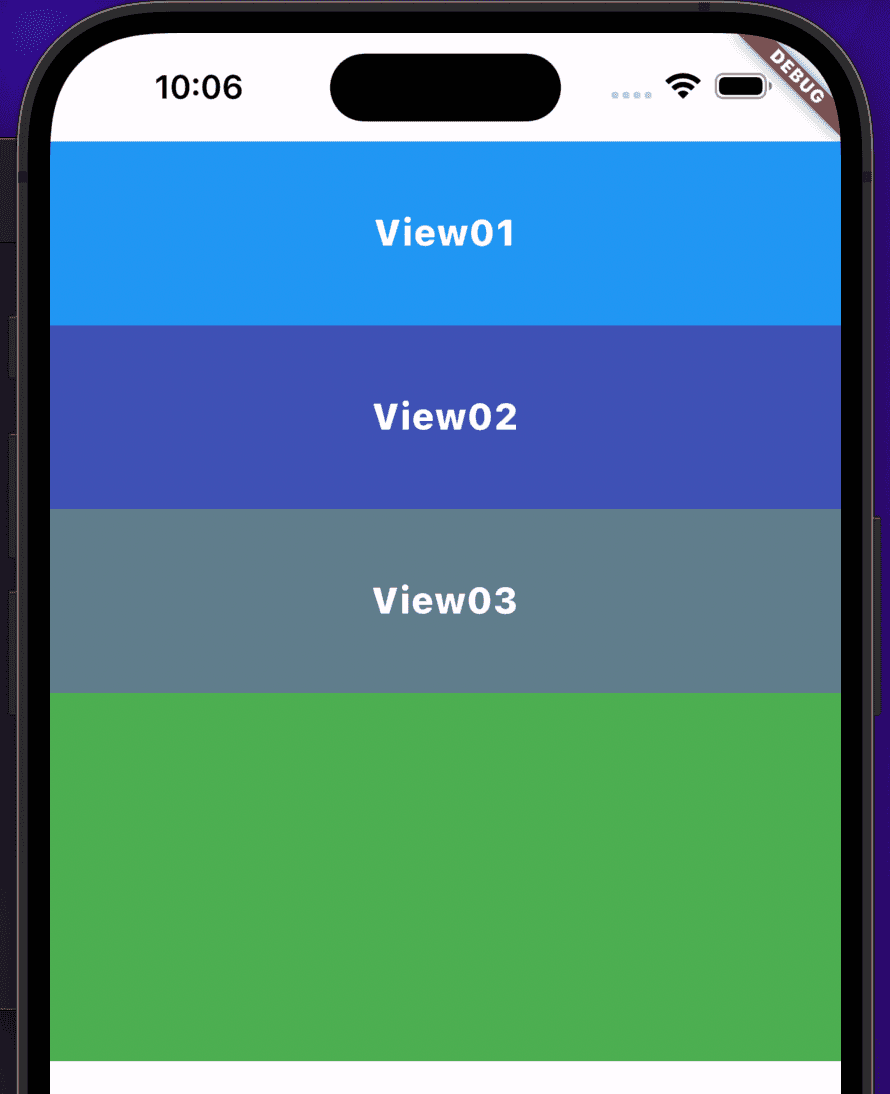
- stretch
- 반대축 최대한으로 늘려서 정렬
| start | center |
|---|---|
|
|
| end | stretch |
|---|---|
|
|
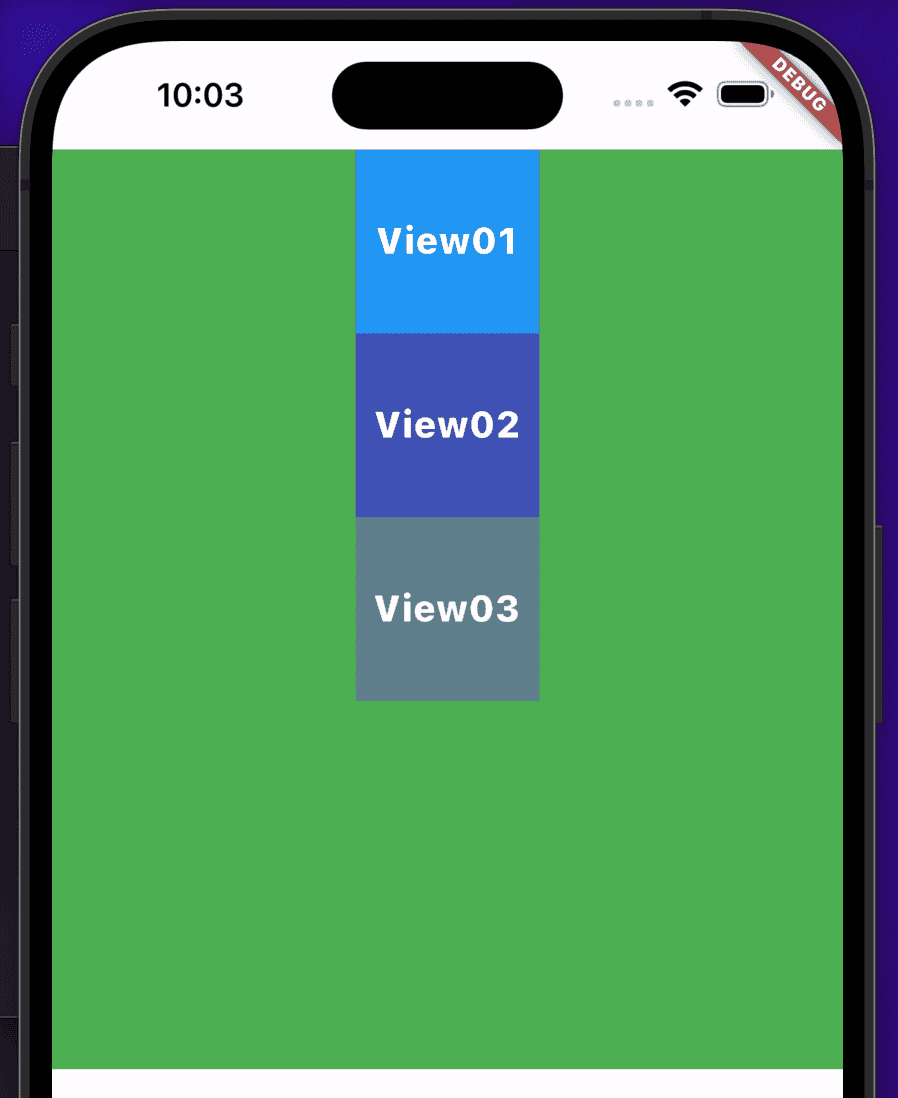
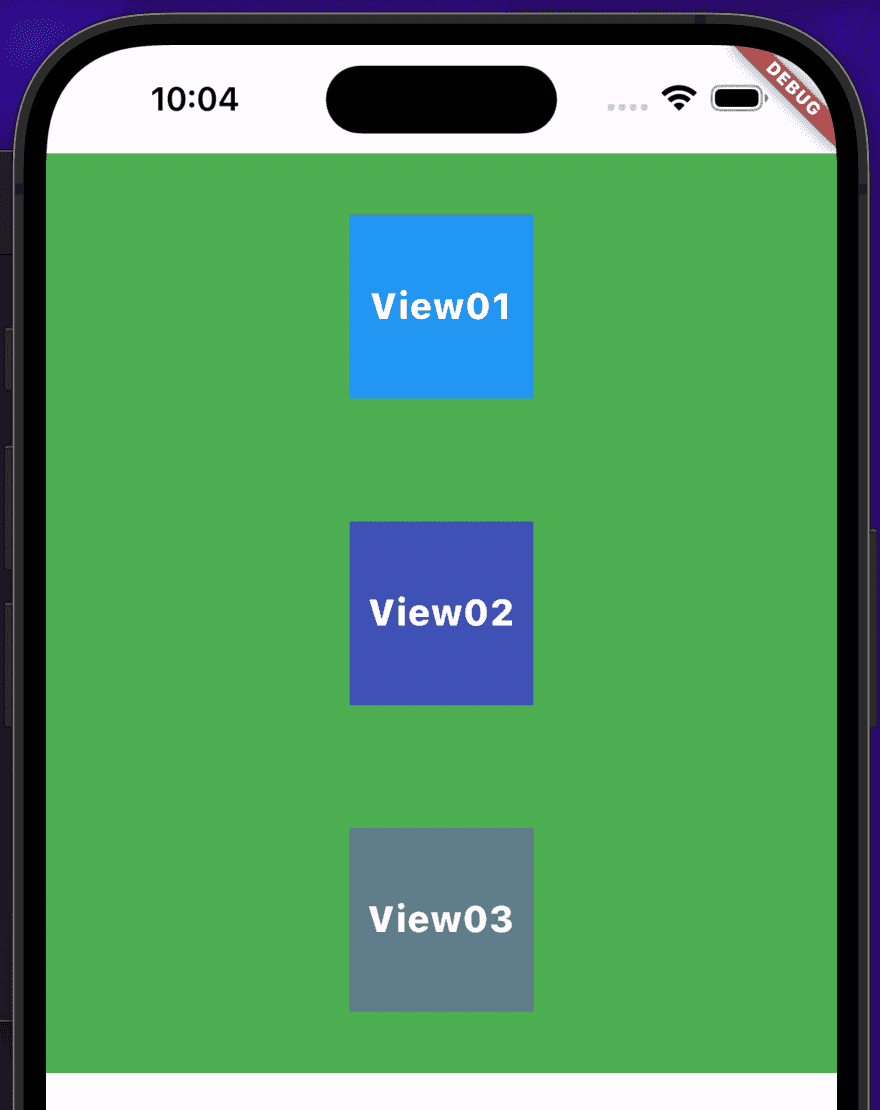
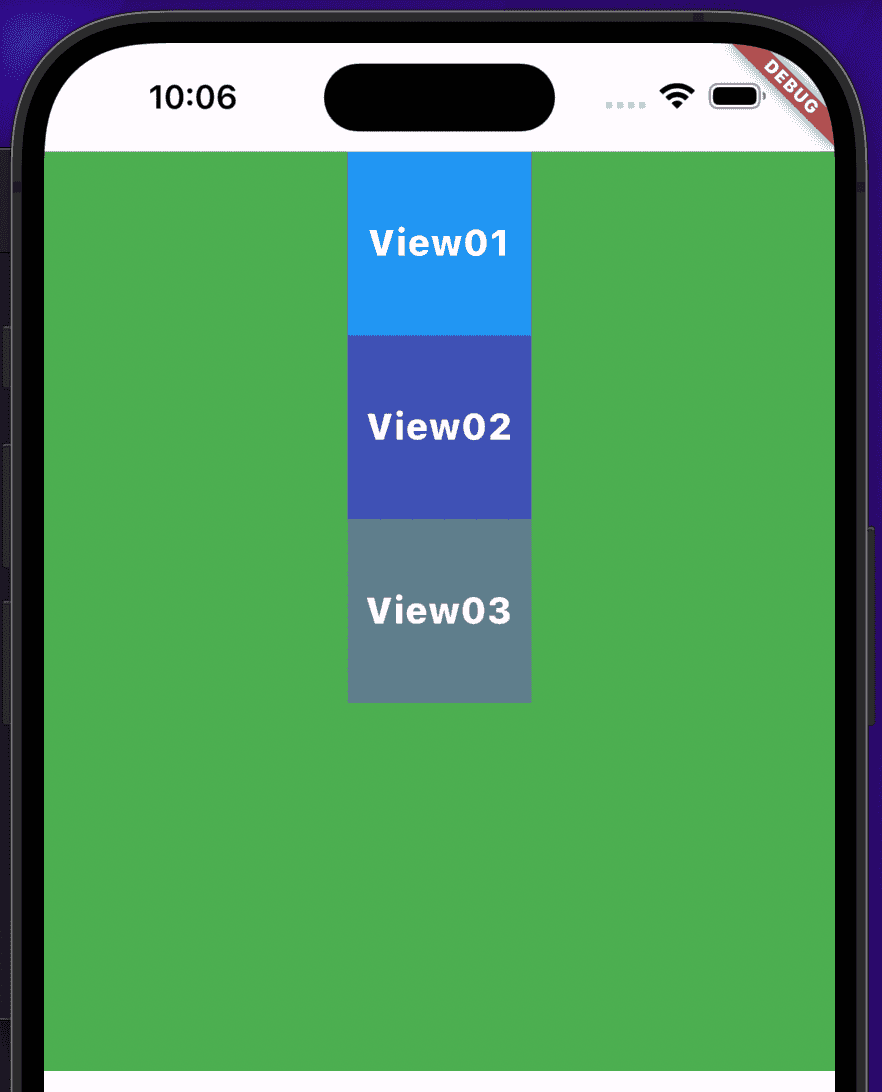
Colum
컬럼은 Row랑 반대 성향의 위젯이다.
Colum은 세로로 위젯을 배치하는데 사용한다.
그리고 다수의 위젯을 배열 형태로 받는다.
샘플 코드는 아래와 같다.
Widget build(BuildContext context) {
return Scaffold(
body: SafeArea(
top: true,
child: Container(
width: double.infinity,
height: 300,
decoration: const BoxDecoration(color: Colors.green),
child: Column(
children: [
Container(
width: 100,
height: 100,
decoration: const BoxDecoration(color: Colors.blue),
child: const Center(
child: Text(
"View01",
style: TextStyle(
color: Colors.white,
fontSize: 20,
fontWeight: FontWeight.w800),
),
),
),
Container(
width: 100,
height: 100,
decoration: const BoxDecoration(color: Colors.indigo),
child: const Center(
child: Text(
"View02",
style: TextStyle(
color: Colors.white,
fontSize: 20,
fontWeight: FontWeight.w800),
),
),
),
Container(
width: 100,
height: 100,
decoration: const BoxDecoration(color: Colors.blueGrey),
child: const Center(
child: Text(
"View03",
style: TextStyle(
color: Colors.white,
fontSize: 20,
fontWeight: FontWeight.w800),
),
),
),
],
),
),
),
);
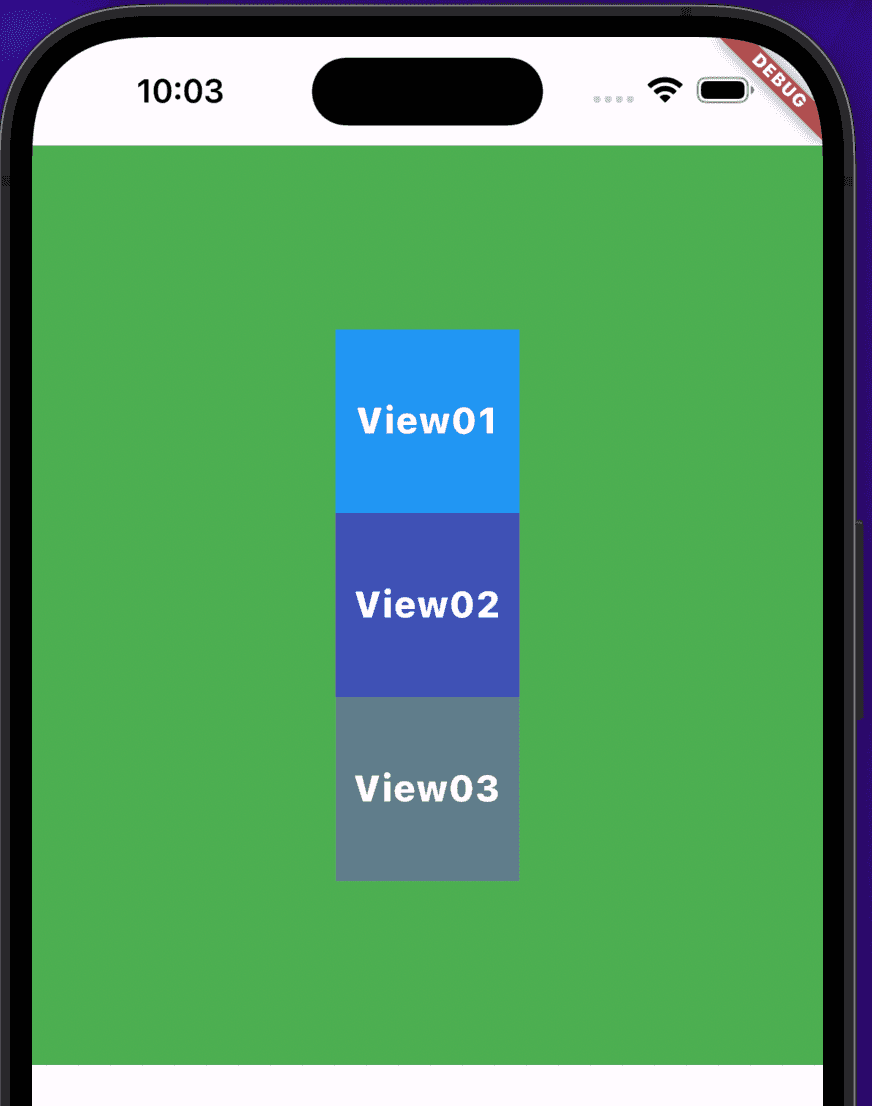
}중요한 것은 여기도 주축정렬과 반대정렬이 있는데, Row와 반대 성향을 가진다.
주측 정렬(MainAxisAlignment)에 대한 속성은 다음과 같다.
- start
- 시작에 정렬한다
- center
- 중앙에 정렬한다.
- end
- 끝에 정렬
- SpaceBetween
- 각 자식 위젯간의 간격을 균등하게 정렬한다.
- spaceAround
- 각 자식 위젯간의 간격을 균등하게 정렬하고, 맨처음과 맨끝 간격을 자식 위젯 사이의 반만큼 배정해 정렬한다.
- spaceEvenly
- 각 자식 위젯간의 간격을 균등하게 정렬하고, 맨처음과 맨끝 간격도 균등하게 정렬한다.
| start | center | end |
|---|---|---|
|
|
|
| SpaceBetween | spaceAround | spaceEvenly |
|---|---|---|

|
|
|
CrossAxisAlignment
이번엔 반대측 정렬(CrossAxisAlignment)에 대한 속성은 다음과 같다.
- start
- 시작에 정렬
- center
- 중앙에 정렬
- end
- 끝에 정렬
- stretch
- 반대축 최대한으로 늘려서 정렬
| start | center |
|---|---|
|
|
| end | stretch |
|---|---|
|
|
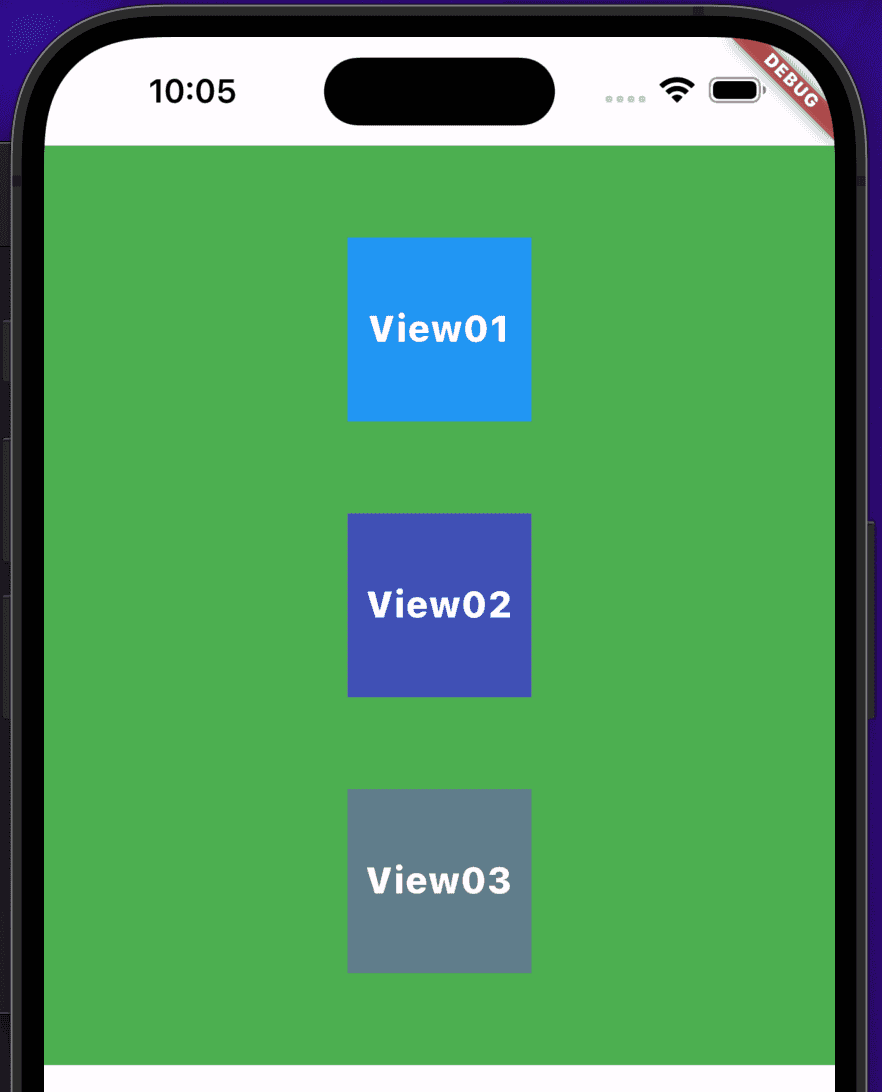
SafeArea
이름에서처럼 안전한 영역을 제공해주는 위젯이다.
이게 뭔말이냐 하면...
아이폰의 경우 하드웨어 특성상 노치가 있다.
그래서 아래와 같은 코드가 있다고 해보자.
Widget build(BuildContext context) {
return Scaffold(
body: Container(
width: double.infinity,
height: 300,
decoration: const BoxDecoration(color: Colors.green),
),
);
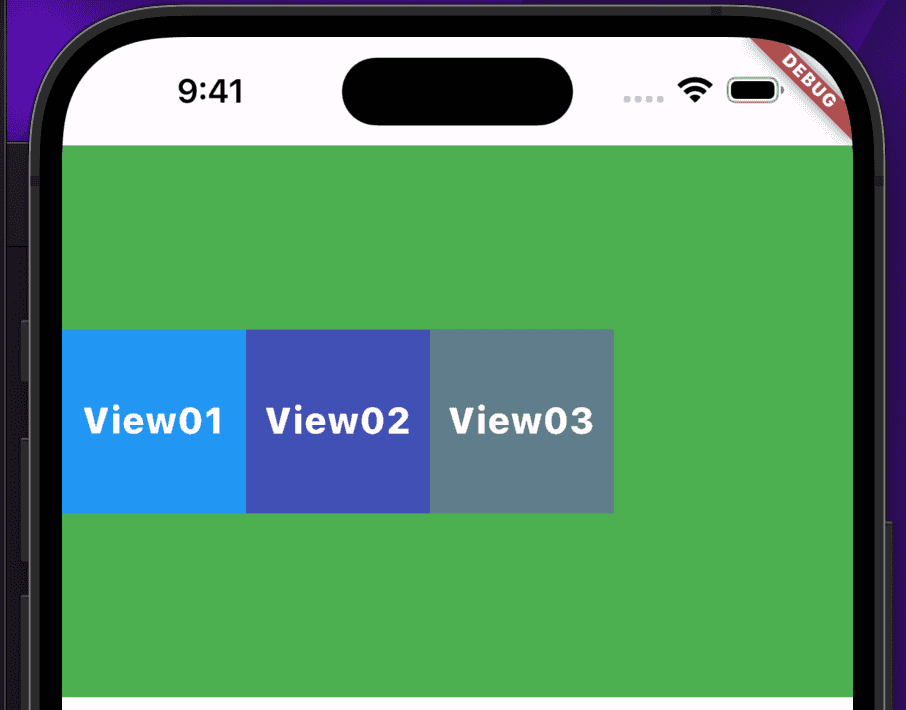
}이 코드의 결과는 아래와 같이 출력된다.
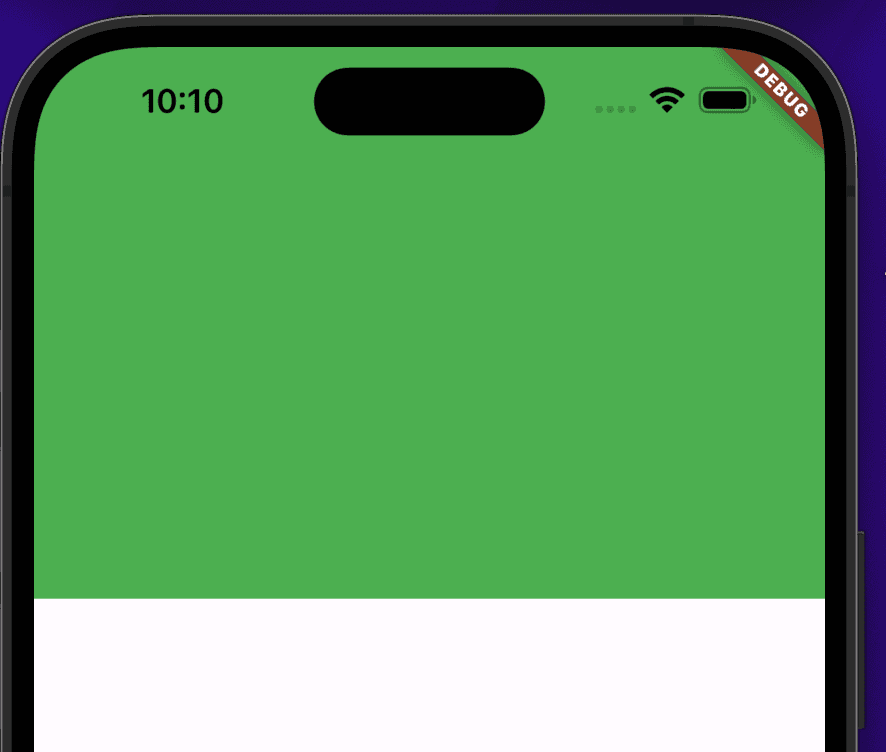
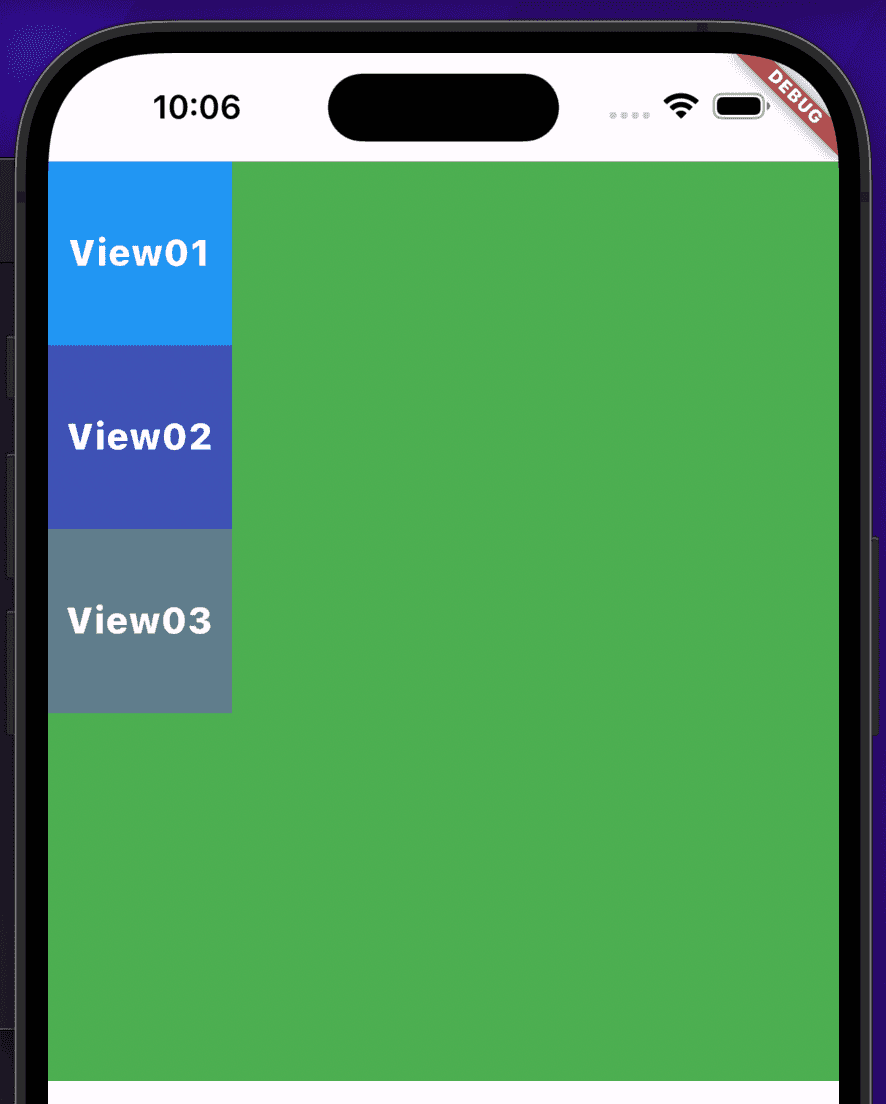
근데 저 SafeArea위젯을 사용하면 아래와 같이 노치를 벗어나서 랜더링 된다.
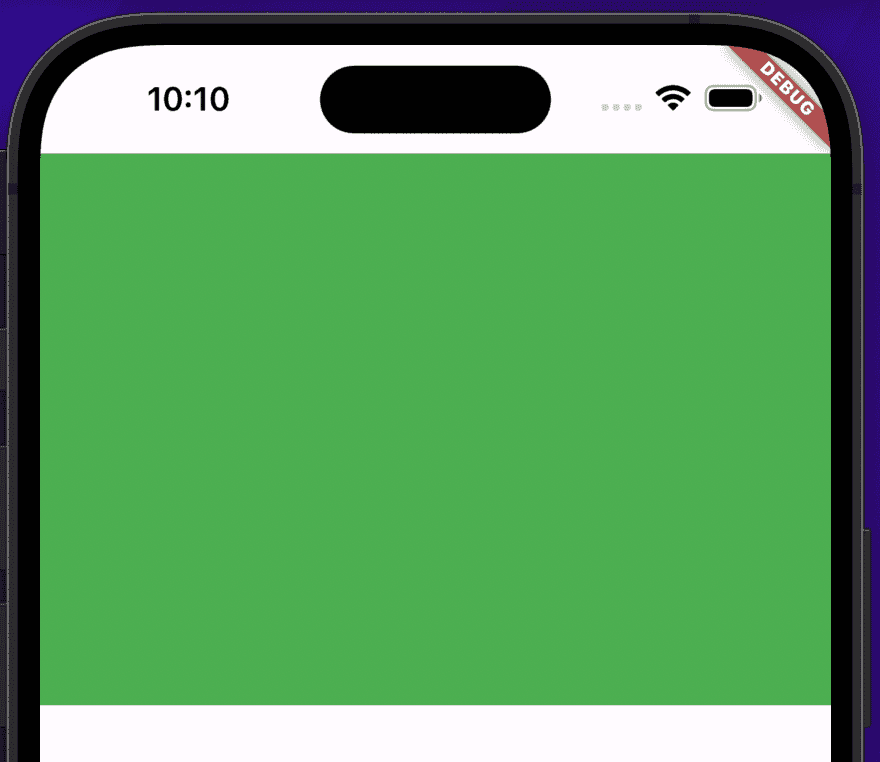
코드는 다음과 같다.
Widget build(BuildContext context) {
return Scaffold(
body: SafeArea(
top: true,
child: Container(
width: double.infinity,
height: 300,
decoration: const BoxDecoration(color: Colors.green),
),
),
);
}속성에는 top, bottom, left, rigth가 있고 bool 값을 받는데, 기본으로 전부 true를 가진다.
물론 미적용하고 싶다면 각 속성에 false를 걸어주면 된다.
SizedBox
Flexible
Expanded