Thymeleaf에서 템플릿 형식으로 사용하기(With thymeleaf-layout-dialect)
주의
이 문건은 과거 Hexo 블로그 (2018-02-16) 에서 이동된 문서입니다.
시간이 지남에 따라 최신 기술과 다를 수 있으니 주의 바랍니다.

JSP만 쓰다가...
사실 저는 Spring boot를 쓴지는 얼마 되지 않았습니다.
그 전에는 Spring + Jsp + mybatis 조합을 많이 사용하였지요.
Spring Boot를 접하게 된 것은 4월달 쯔음 토이 프로젝트를 하나 진행하면서 쓰게 되었습니다.
Spring을 쓰다가 Spring Boot를 사용하였을 때는 신세계 였습니다.
Spring Boot에서는 View단을 JSP보다는 Thymeleaf라는 것을 사용하길 권장하고 있습니다.
Thymeleaf는 순수 HTML에 HTML5문법을 사용하여 Server side 로직을 수행할 수 있는 HTML 태그 및 속성 기반의 Template Engine입니다.
일단 Spring Boot 에서는 JSP를 쓰려면 약간 복잡해집니다.
만약 Spring Boot 에서 JSP를 쓰길 원한다면 공식문서 예제를 참고하세요.
(러닝커브도 높은 편도 아니라 한번 써보시는 것을 추천 드립니다 :) )
서론은 여기까지로 하고...
제가 Thymeleaf를 쓰면서 공통 레이아웃에 대한 처리를 한 부분에 대해 포스팅을 해보고자 합니다.
시작하기 앞서 개발환경은 다음과 같습니다.
- Spring Boot = '1.5.8.RELEASE'
- dependencies = compile('org.springframework.boot:spring-boot-starter-thymeleaf')
spring-boot-starter-thymeleaf에는?
먼저 예제를 살펴보기 이전에...
개발환경에서 의존성에 spring-boot-starter에 다양한 것이 있지만 그 중 thymeleaf를 사용하였습니다.
이 의존성은 다음과 같이 구성되어 있습니다.
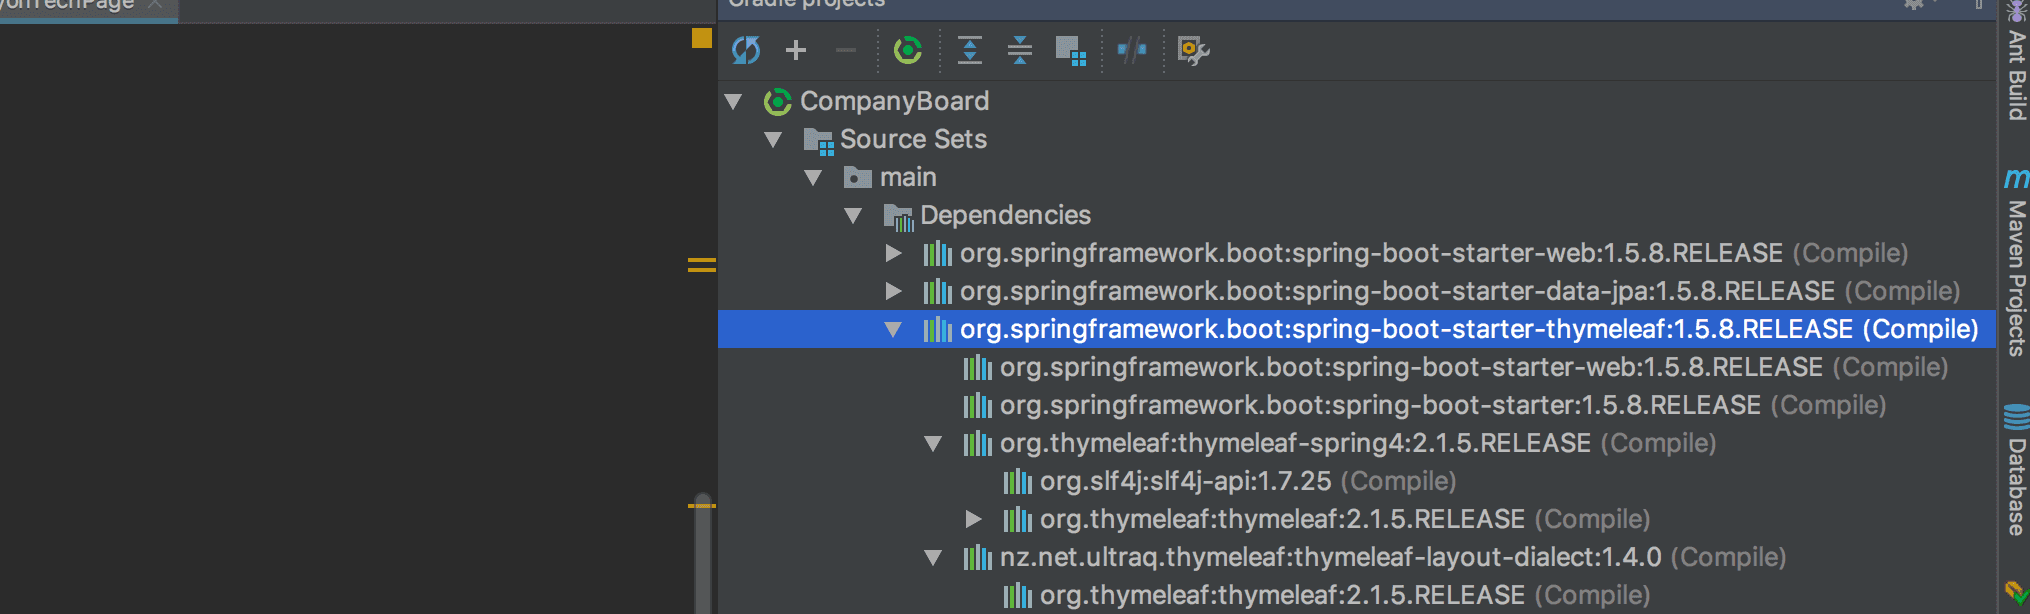
이 중 맨 마지막에 추가된 Thymeleaf Layout Dialect는 타임리프에서 코드 재사용을 개선하기 위해 재사용이 가능한 레이아웃과 템플릿을 작성할 수 있도록 도와주는 라이브러리입니다.
이것에 대한 포스팅은 Thymeleaf에서 thymeleaf-layout-dialect 소개 포스팅를 참고해주세요.
예제에 앞서
예제는 제가 오픈소스로 만들고 있는 CompanyBoard에서 쓰인 부분입니다.
thymeleaf-layout-dialect를 사용하여 공통적으로 사용하는 레이아웃을 만들고, 컨텐츠 페이지에 공통 레이아웃을 적용하는 순서로 진행하겠습니다.
1. 공통적으로 사용할 Main Layout 작성
HTML이라면 다음과 같은 기본 양식을 따를 것입니다.
예제파일 이름 : layout/main_layout.html
<!DOCTYPE html>
<html lang="ko" xmlns="http://www.w3.org/1999/xhtml" xmlns:th="http://www.thymeleaf.org">
  <head th:replace="fragments/main/main_header :: mainHead"> </head>
  <body th:replace="fragments/main/main_body :: mainBody"></body>
</html>
html 태그 안에 head와 body가 구성되는데 저의 경우 위 예제처럼 큰 틀의 공통 레이아웃을 잡고, head와 body 영역에서 th:replace 속성을 통해 각 부분에 대한 공통 레이아웃을 재정의 하였습니다.
th:replace 속성은 간단하게 설명하면 해당 속성이 선언된 html 태그를 replace에 정의된 다른 html 파일로 치환하는 것으로 jsp의 include와 비슷한 동작을 행합니다.
th:replace 속성의 경로는 Spring-boot의 기본 경로인 templates 하위에 정의한 경로를 작성 후 :: 뒤에는 아래에서 소개할 fragment속성의 이름을 적어줍니다.
2. Head의 공통 부분 작성
head의 공통 부분은 아래의 예제와 같습니다.
예제파일 이름 : fragments/main/main_header.html
<!DOCTYPE html>
<html
  lang="ko"
  xmlns="http://www.w3.org/1999/xhtml"
  xmlns:th="http://www.thymeleaf.org"
  xmlns:layout="http://www.ultraq.net.nz/thymeleaf/layout"
>
  <head th:fragment="mainHead">
    <th:block th:include="fragments/common/c_head"></th:block>

    <link rel="stylesheet" th:href="@{/lib/AdminLTE-2.4.2/css/AdminLTE.min.css}" />
    <link rel="stylesheet" th:href="@{/lib/AdminLTE-2.4.2/css/skins/_all-skins.css}" />

    <link rel="stylesheet" th:href="@{/css/common/common_main.css}" />

    //Custom or page css
    <th:block layout:fragment="custom_css"></th:block>
  </head>
</html>
head 태그에서 보면 fragment 속성에 이름을 정의하였고, th:include속성과 css 선언, 그리고 컨텐츠 페이지에서 사용할 영역인 layout:fragment="custom_css"를 정의하였다.
th:include="fragments/common/c_head"속성의 파일은 다음과 같이 구성되어 있다.
예제파일 이름 : fragments/common/c_head.html //Meta Data
<meta http-equiv="Content-Type" content="text/html; charset=UTF-8" />
<meta content="width=device-width, initial-scale=1, maximum-scale=1, user-scalable=no" name="viewport" />

//기본적인 html head 추가부
<th:block layout:fragment="html_head"></th:block>

//Css lib
<link rel="stylesheet" th:href="@{/lib/AdminLTE-2.4.2/bower_components/bootstrap/dist/css/bootstrap.min.css}" />
<link rel="stylesheet" th:href="@{/lib/sweetalert2/sweetalert2.min.css}" />
<link rel="stylesheet" th:href="@{/lib/font-awesome-4.7.0/css/font-awesome.min.css}" />

//Etc Add on Lib
<th:block layout:fragment="add_lib_css"></th:block>

//Css custom
<link rel="stylesheet" th:href="@{/css/common/loading.css}" />
<link rel="stylesheet" th:href="@{/css/common/common_main.css}" />layout:fragment="html_head"속성은 컨텐츠 페이지에서 title을 정의하는 부분으로 실제 컨텐츠 페이지에서 알맞게 사용하며, 4번 컨텐츠 페이지 내용을 참고하세요. 중간의 add_lib_css 영역은 컨텐츠 페이지에서 따로 추가적으로 사용할 css 등을 추가하는 영역입니다.
간략히 정리를 하자면 layout:fragment 속성은 공통 레이아웃에서 선언하여 실제 컨텐츠 페이지에서 선언된 내용을 채우게 해줍니다.
3. Body의 공통 부분 작성
1번에서 작성한 코드에서 body 영역을 보겠습니다.
예제파일 이름 : fragments/main/main_body.html
<!DOCTYPE html>
<html
  lang="ko"
  xmlns="http://www.w3.org/1999/xhtml"
  xmlns:th="http://www.thymeleaf.org"
  xmlns:layout="http://www.ultraq.net.nz/thymeleaf/layout"
>
  <body th:fragment="mainBody">
    <div class="wrapper">
      <th:block layout:fragment="content_body"></th:block>
      <th:block th:include="fragments/main/main_footer"></th:block>
    </div>

    <th:block th:include="fragments/common/c_body_script"></th:block>

    <script th:src="@{/lib/AdminLTE-2.4.2/js/adminlte.min.js}"></script>
    <script th:src="@{/js/common/common_main.js}"></script>

    <th:block layout:fragment="custom_js"></th:block>
  </body>
</html>
body 영역은 싫제 컨텐츠 페이지를 채울 영역인 layout:fragment="content_body"이 선언되어 있고, 공통적으로 사용할 footer를 include 하게 됩니다.
아래의 영역은 JS를 선언하여 사용하는 영역입니다.
4. 컨텐츠 페이지 작성
<!DOCTYPE html>
<html
  lang="ko"
  xmlns="http://www.w3.org/1999/xhtml"
  xmlns:th="http://www.thymeleaf.org"
  xmlns:layout="http://www.ultraq.net.nz/thymeleaf/layout"
  layout:decorator="layout/main_layout"
>
  <th:block layout:fragment="html_head">
    <title>TachyonTech Info</title>
  </th:block>

  <th:block layout:fragment="add_lib_css">
    <link rel="stylesheet" th:href="@{/lib/fullcalendar-3.6.2/fullcalendar.min.css}" />
    <link rel="stylesheet" th:href="@{/lib/fullcalendar-3.6.2/fullcalendar.print.min.css}" media="print" />
  </th:block>

  <th:block layout:fragment="custom_css">
    <link rel="stylesheet" th:href="@{/css/dashboard/main.css}" />
  </th:block>

  <th:block layout:fragment="content_body">
    <div th:replace="fragments/common/loading"></div>
    <header th:include="fragments/main/main_sidemenu"></header>

    <div class="content-wrapper">//..... 실제 컨텐츠 내용 작성</div>
  </th:block>

  <th:block layout:fragment="custom_js">
    <script th:src="@{/lib/fullcalendar-3.6.2/fullcalendar.min.js}"></script>

    <script th:src="@{/js/dashboard/main.js}"></script>
  </th:block>
</html>
컨텐츠 페이지는 위의 예제를 참고하시면 됩니다.
처음 보면 약간은 복잡하지만, 위의 예제를 하나씩 흐름에 맞춰서 보게 되면 그리 어렵지도 않습니다.
그리고 이해 후 사용하게 되면 레이아웃에 대한 공통적인 부분을 쉽게 구현할 수 있으며, 코드 복잡도도 낮아지게 됩니다.
결론
위의 예제를 약간 정리하면 다음과 같습니다.
- 상위 공통 레이아웃 -> layout/main_layout.html
- head 공통 레이아웃 -> fragments/main/main_header.html -> fragments/common/c_head.html
- body 공통 레이아웃 -> fragments/main/main_body.html
- 위의 공통 레이아웃들을 묶어서 컨텐츠 페이지 작성
포스팅의 내용이 약간 길게 되어 제가 자세하게 적지 못한 부분도 있을 수 있습니다.
이해가 안되시거나 잘못된 부분이 있다면 메일 등으로 알려주시면 답변 또는 수정 처리하도록 하겠습니다.
감사합니다.